Mongoose
What is Mongoose?
Mongoose is a Node.js-based Object Data Modeling (ODM) library on top of the MongoDB native driver for Node.js projects. It manages relationships between data, provides schema validation and it is used to translate between objects in code and the representation of those objects in MongoDB.
You can install Mongoose to your Node.js project with npm:
1 | |
And remember use require() in your JavaScript codes:
1 | |
Connection to MongoDB
Mongoose requires a connection to a MongoDB database. You can find your MongoDB connection string from MongoDB Atlas. Select Connect Your Application and find your connection string.
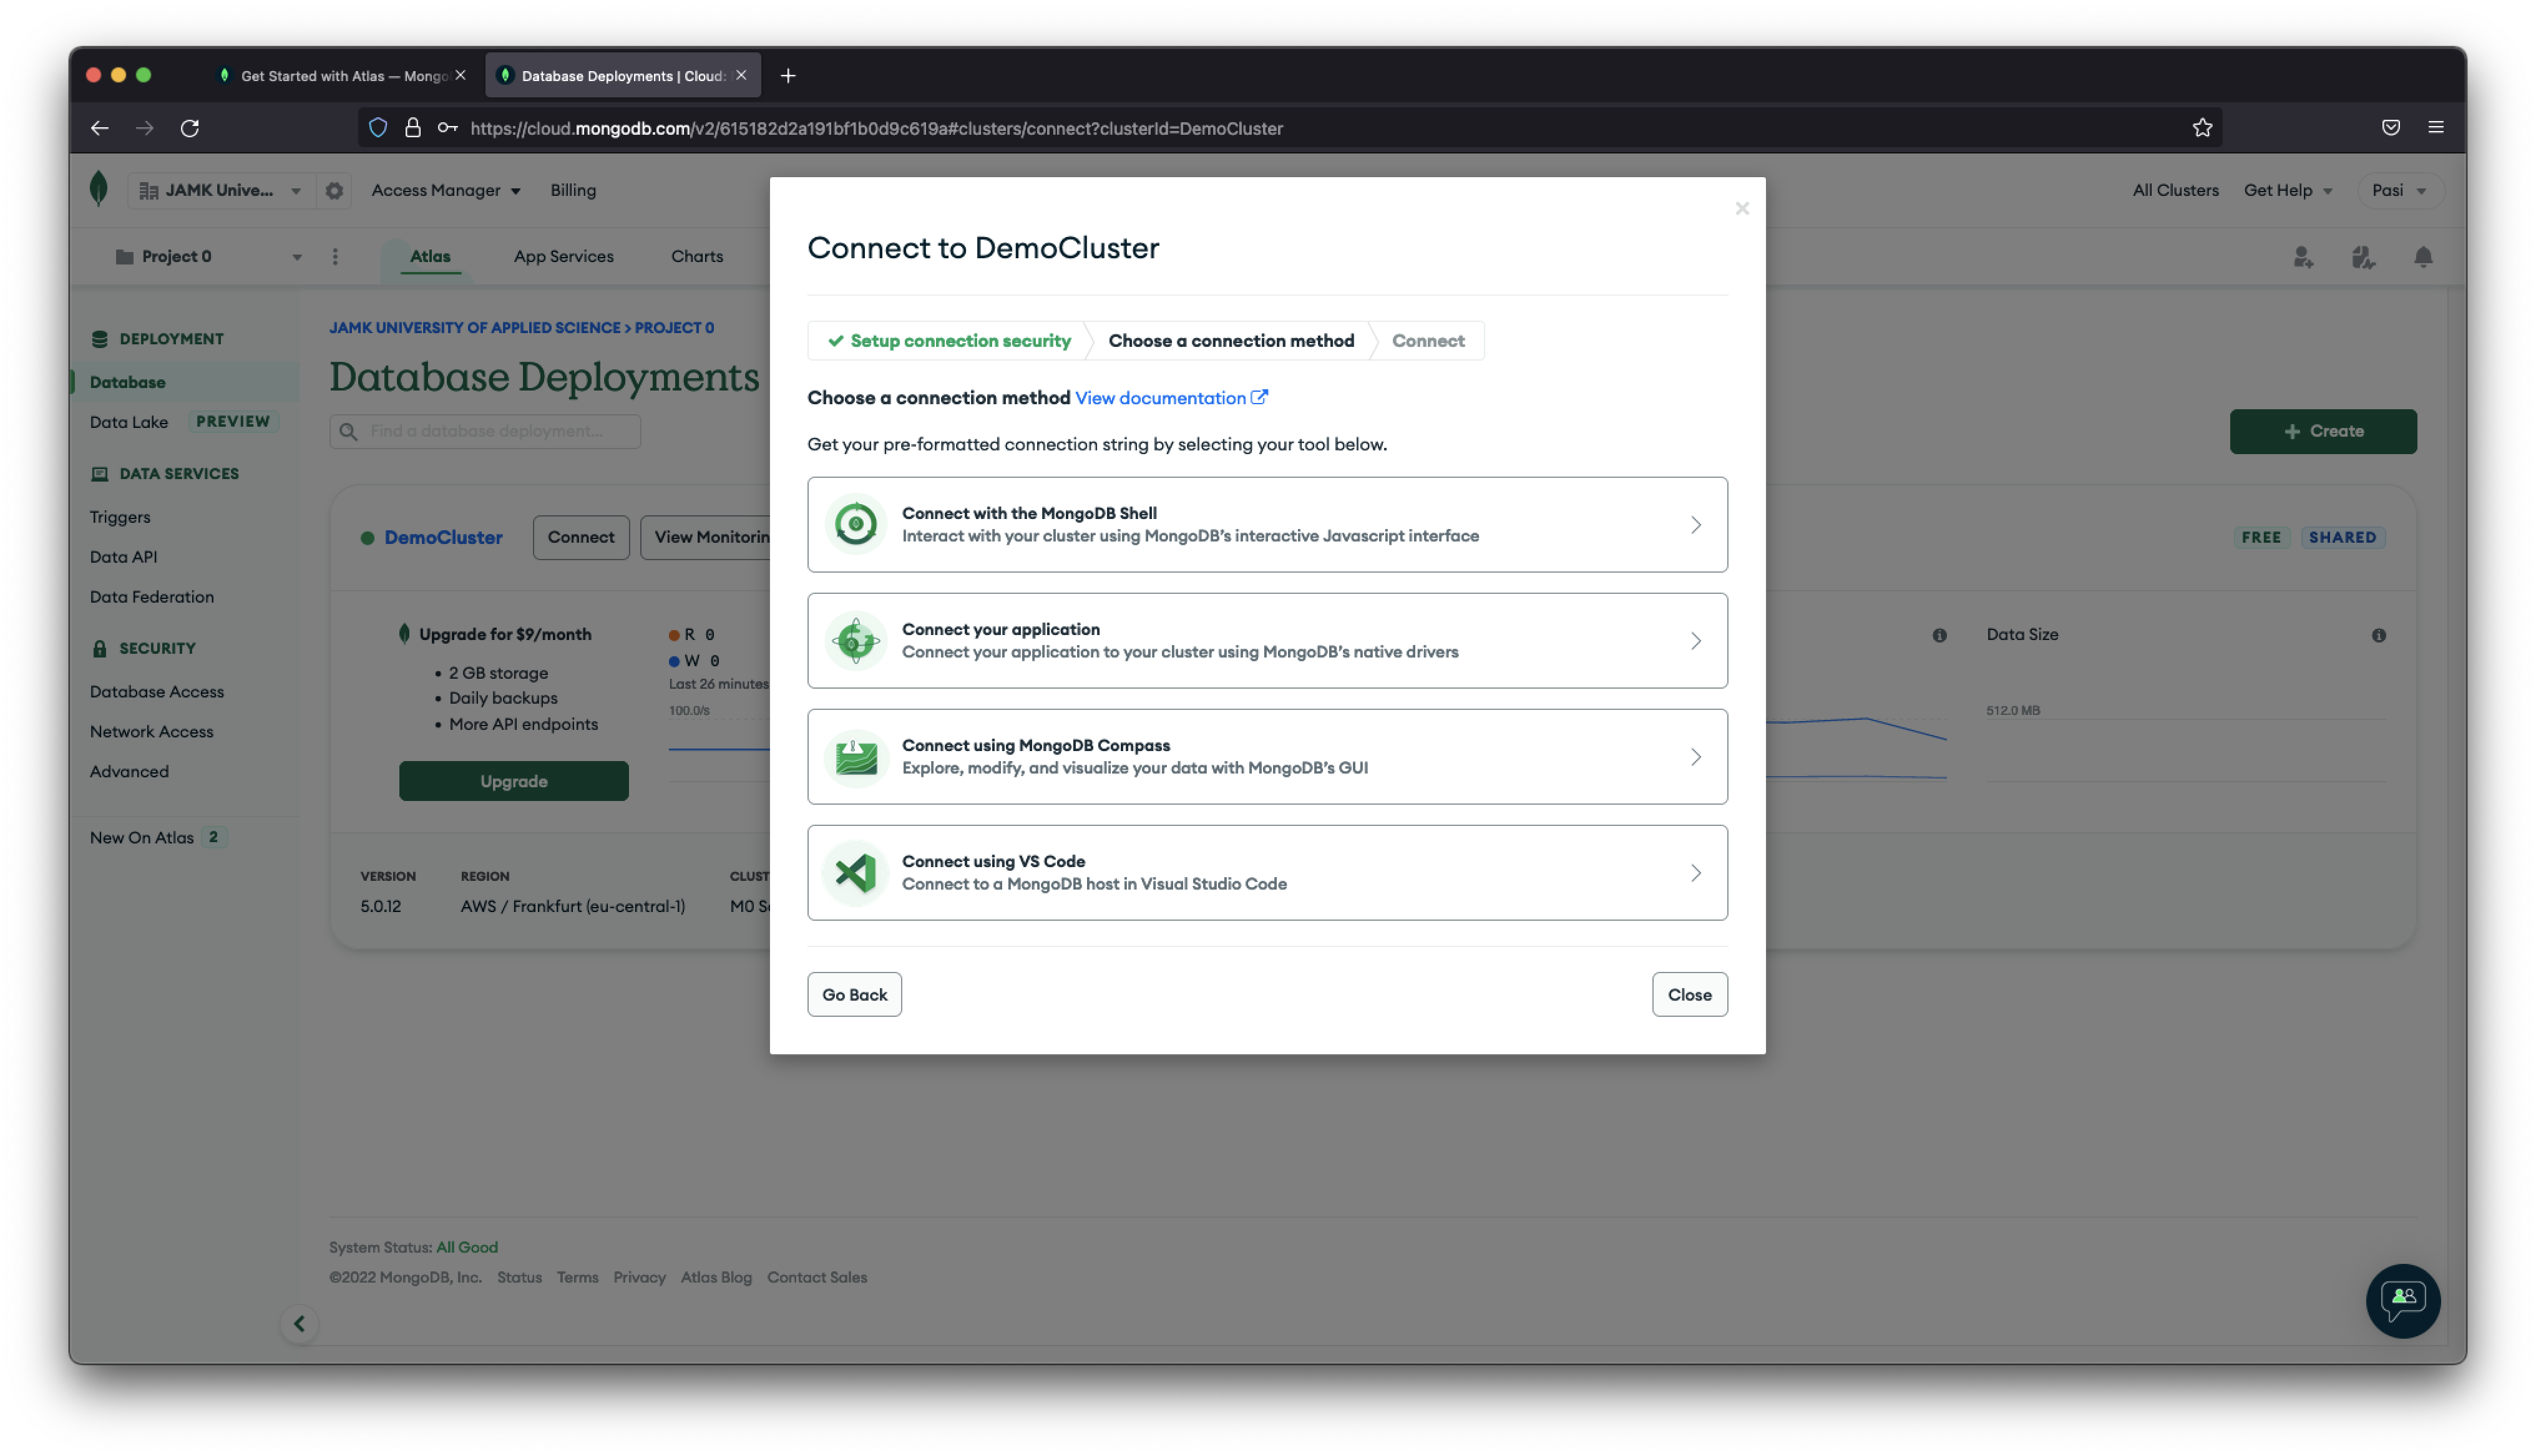
In a below you can see one example connection string from MongoDB Compass to MongoDB Atlas Cloud (Persons database).
1 | |
You should use dotenv module to store your connection string to .env file. Add your MongoDB connection string to your .env file.
| .env | |
|---|---|
1 | |
You can connect your app to MongoDB Atlas database with mongoose.connect() command. By pass the deprecation warnings with useNewUrlParser and useUnifiedTopology. Read more here: Deprecation Warnings.
1 2 3 4 5 6 7 8 9 10 11 12 13 14 15 16 17 | |
Schema and Model
Models are defined using the Schema interface. The Schema allows you to define the fields stored in each document along with their validation requirements and default values. Schemas are compiled into models using the mongoose.model(). Once you have a model you can use it to find, create, update, and delete objects of the given type to your database.
If you want to create for example a persons collection to MongoDB with a following data (what we have used earlier):
| example person document | |
|---|---|
1 2 3 4 5 | |
You can define a new PersonSchema which will define needed data fields.
| schema (basic) | |
|---|---|
1 2 3 4 5 | |
You should check Mongoose validation syntax to learn more how to create powerful schemas. You can modify above schema for example like this.
| schema (more details) | |
|---|---|
1 2 3 4 5 | |
Now person name is required and age need to be zero or more. When data is inserted to database, mongoose will use build-in-validators to check that data is correct. If is not, data saving operation will throw an exception.
A new model PersonModel can be created with above personSchema.
| model | |
|---|---|
1 | |
Later the model is used to create a person object.
| person | |
|---|---|
1 2 3 4 5 | |
Modifying MongoDB (CRUD)
Creating
A new document can be done by using save() method. This method will return a promise and in the callback function we do a basic logging and close the connection.
1 2 3 4 | |
Reading
Documents can be found with a find() method. Now above created Person model can be used to find persons from the Persons collecions. Use find() method with different search criterias inside {}.
1 2 3 4 5 6 | |
Updating
You can use for example findByIdAndUpdate method to find person and update it's fields.
1 2 3 4 5 6 7 8 9 10 11 | |
Deleting
You can use for example findByIdAndRemove method to find person and delete it.
1 2 3 4 | |
Mongoose Validation
Mongoose Validation is a customisable middleware that gets defined inside the SchemaType of mongoose schema. It is automatically used before a document is saved in the MongoDB. Validation can also be run manually using validate(callback) or validateSync() functions.
Example:
| Person Schema | |
|---|---|
1 2 3 4 5 | |
1 2 3 | |
Now person object doesn't have any fields and this will give a following error:
1 | |
You can also modify to add a custom error messages:
| Person Schema | |
|---|---|
1 2 3 4 5 | |
1 | |
Try to user correct name value and set incorrect agevalue:
1 2 3 | |
1 | |
You can also use enumerations in schema:
| Person Schema | |
|---|---|
1 2 3 4 5 6 7 8 9 10 11 12 | |
1 2 3 | |
1 | |
Look more validation examples from Mongoose Validation materials.
Populate
Mongoose has a more powerful alternative called populate(), which lets you reference documents in other collections. Population is the process of automatically replacing the specified paths in the document with document(s) from other collection(s). We may populate a single document, multiple documents, a plain object, multiple plain objects, or all objects returned from a query.
Let's look at some examples.
- Todo schema/model with
text
| schema/model - todo | |
|---|---|
1 2 3 4 | |
- Person schema/Model with name and array
- Array contains
mongoose.Schema.Types.ObjectIdwhich ref isTodo.
So, now Person can have multiple todos.
| schema/model - person | |
|---|---|
1 2 3 4 5 | |
Let's create a person and a few todos. Person and Todo models are created with a some default values. Todos are added to Person's todos with findByIdAndUpdate function.
| index.js | |
|---|---|
1 2 3 4 5 6 7 8 9 10 11 12 13 14 15 16 17 18 19 20 21 22 23 24 25 26 27 28 29 30 31 | |
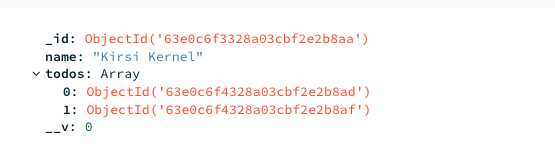
A following person data will be visible in MongoDB.
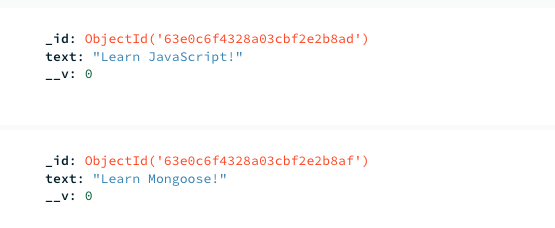
A following todo data will be visible in MongoDB.
If you now try to find a person without populate() function:
1 2 | |
You will get todo's only like a MongoDB ObjectId's.
1 2 3 4 5 6 7 8 9 | |
But, if you use populate() in your query, then those todos are populated to returned object:
1 2 | |
1 2 3 4 5 6 7 8 9 10 11 12 13 14 15 16 17 | |
Read More
Goals of this topic
Understand
- Basics of the Mongoose.